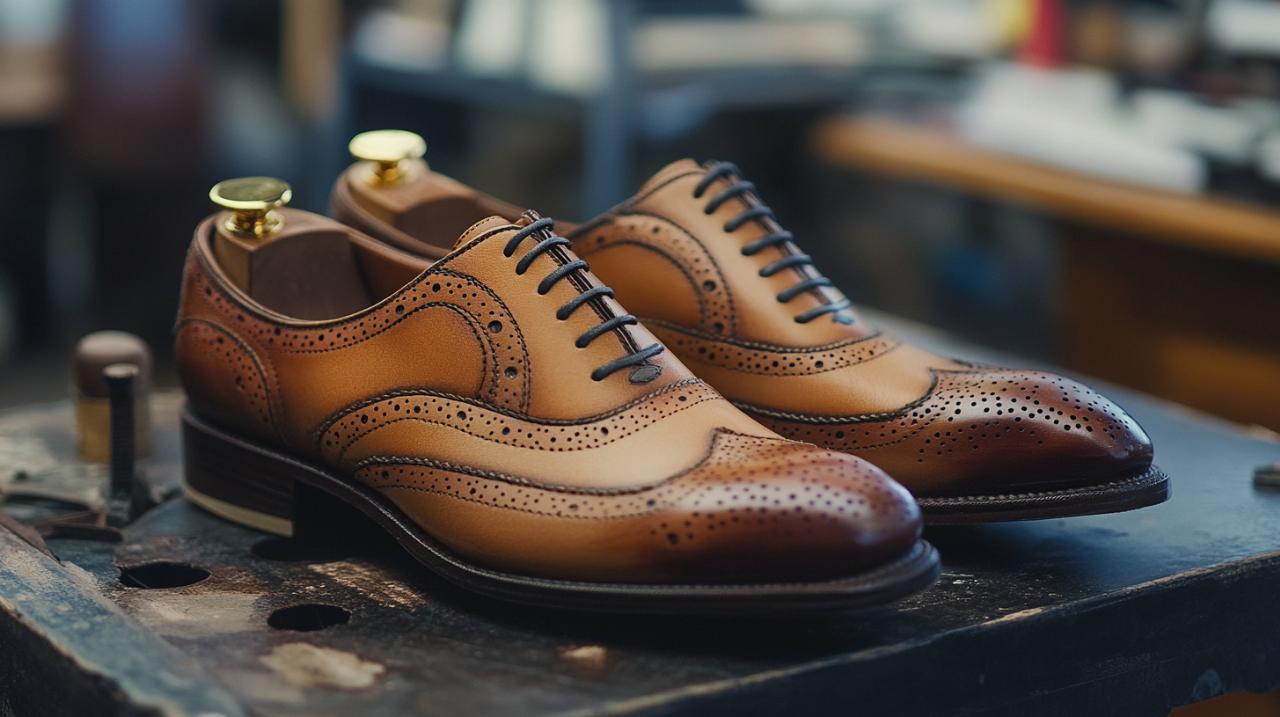
The art of crafting bespoke footwear has captured the imagination of creative individuals across the country, offering an opportunity to step away from mass-produced designs and fashion something truly distinctive. Whether you’re looking to develop a new skill, express your personal flair, or simply own a pair of shoes that no one else possesses, the journey of making your own footwear brings immense satisfaction. This detailed exploration will guide you through the entire process, from initial concepts to the final protective finish, ensuring your handmade creation is both stylish and durable.
Planning and designing your bespoke footwear
Embarking on the adventure of making your own shoes begins with thoughtful planning and a clear vision of what you want to achieve. The design phase serves as the foundation for everything that follows, influencing not only the aesthetic appeal but also the comfort and functionality of the finished product. Taking time to conceptualise your design properly will save you considerable effort later and ensure that your creation reflects your unique personality. Drawing inspiration from various sources such as pop culture, nature, artistic movements, or even traditional craftsmanship can help you develop a design that resonates with your personal tastes. When you create your own custom shoes tutorial, the emphasis must always be on transforming abstract ideas into tangible, wearable art that showcases your individual style and meets your practical needs.
Sketching your ideal shoe design and selecting your style
The first step in bringing your vision to life involves sketching out your ideal shoe design on paper. This process allows you to experiment with different shapes, lines, and embellishments without committing to any materials. Consider what purpose your footwear will serve, whether it’s for casual everyday wear, special occasions, or indoor use only if you’re working with non-traditional materials. Popular base choices among enthusiasts include classic trainers such as Air Force 1s or timeless Converse, both of which provide excellent surfaces for customisation and are widely available. Canvas shoes work particularly well with acrylic paint, offering a receptive surface that holds colour beautifully, whilst leather options demand specialised products but reward you with superior longevity and a more refined finish. Synthetic materials present a more affordable alternative, though paint adhesion can sometimes prove less reliable. As you sketch, think about the elements that hold personal significance, perhaps incorporating colours that represent important memories or patterns that reflect your cultural heritage.
Choosing the right materials: leathers, fabrics, and components
Once your design has taken shape on paper, the next crucial decision involves selecting the materials that will transform your sketch into reality. The choice of uppers, whether leather, fabric, or eco-friendly alternatives, will significantly impact the durability, breathability, and comfort of your finished shoes. Leather is highly recommended for outdoor use due to its resilience against the elements, whilst fabric options are better suited to indoor environments unless treated with protective finishes. For those concerned about environmental impact, the market now offers an increasing range of sustainable materials that don’t compromise on quality. Beyond the main fabric, you’ll need to consider components such as cork or shoe leather for the sole, thread that matches or complements your design, eyelets for lacing, and appropriate adhesives like superglue for secure bonding. Fabric shops and art supply stores provide affordable sources for these materials, often at a fraction of the cost of specialist shoemaking suppliers. The project typically requires an investment of less than fifty pounds and can be completed in under twenty hours, making it an accessible endeavour for beginners. Additional elements such as masking tape for pattern creation, paper for templates, and various needles and awls for stitching will also prove essential. Taking the time to source quality materials ensures that your handmade creation will withstand regular wear and maintain its appearance over time.
Building your custom shoes: construction techniques and assembly
With your design finalised and materials gathered, the construction phase begins, transforming raw components into a functional and fashionable pair of shoes. This stage demands patience, precision, and attention to detail, as each step builds upon the previous one to create a cohesive whole. Understanding traditional methods whilst adapting them to work with modern, affordable materials allows you to achieve professional results without requiring expensive equipment or years of training. The process involves creating accurate patterns based on your own feet, ensuring a perfect fit that mass-produced footwear simply cannot match.

Essential tools and equipment for crafting quality footwear
Before diving into the construction process, assembling the right tools will make your work considerably easier and more enjoyable. Essential items include sharp scissors for cutting fabric and leather, a reliable utility knife for precision trimming, and an eyelet punch for creating neat holes for laces. A marker for tracing patterns, pliers for manipulating metal components, and various needles for different stitching tasks form the core of your toolkit. An awl proves invaluable for piercing tough materials, whilst a cutting mat protects your work surface and extends the life of your blades. For those interested in more advanced customisation techniques, acrylic paints suitable for fabric or leather allow you to add colourful designs, whilst acetone serves as an effective cleaning agent to prepare surfaces for painting. Fine sandpaper helps paint adhere properly by creating a slightly rough texture, and high-quality masking tape protects areas you wish to keep pristine during the decorating process. Sealants are crucial for protecting your finished design from moisture, wear, and fading. If you plan to incorporate smooth colour transitions or intricate patterns, an airbrush can produce professional-looking results, whilst cutting machines such as Cricut enable you to create precise stencils for logos or text. Many suppliers offer convenient DIY kits containing all the basics needed to start your shoe-making journey, which can be particularly helpful for first-time makers.
Step-by-step assembly process from sole to upper finishing
The construction process begins with creating a last, which is a foot-shaped form that serves as the foundation for building your shoe. You can either purchase a ready-made last or craft your own by making a cast of your foot using alginate and Permastone or similar casting materials. Once you have your last, cover it entirely with masking tape and carefully draw your shoe pattern directly onto the tape, marking where each piece will sit. Cut the tape into separate pattern pieces, then flatten these shapes and trace them onto paper, remembering to add a seam allowance around each piece to accommodate stitching. Use these paper templates to cut your chosen fabric or leather, ensuring precision in every cut as accuracy at this stage directly affects the final fit. Sew the various pieces together according to your design, joining the outer fabric to the inner lining to create the upper portion of the shoe. Install eyelets at the marked positions and thread your laces through to check the spacing and alignment. Creating the sole involves cutting cork or leather to the appropriate shape, then soaking the insole material in water to make it pliable. Tie the dampened insole to the last and allow it to dry completely, which causes it to adopt the exact contours of your foot for superior comfort. Once dry, pare down any excess material from the insole and attach the upper section by sewing it securely to the sole, trimming away any surplus fabric to create clean edges. Apply additional sole layers using strong adhesive, building up thickness and durability. If desired, add a heel or tread patterns to improve grip and stability. Finish the sole with a final layer of cork or leather to create a polished appearance. When crafting the second shoe, simply flip your patterns over to create a mirror image, ensuring both shoes match perfectly. This methodical approach results in footwear that fits like a dream and reflects your personal aesthetic, all whilst costing significantly less than bespoke shoes from professional cobblers.
Once the basic construction is complete, you may wish to embellish your creation with custom painting or other decorative techniques. Proper surface preparation proves essential for ensuring paint adheres well and lasts through regular wear. Begin by thoroughly cleaning the shoes to remove any dirt, oils, or residues that might interfere with paint bonding. Use acetone applied with a cloth in circular motions to clean the areas you intend to paint, allowing the surface to dry completely before proceeding. Lightly sand the painting areas with fine sandpaper to create a slightly rough texture that helps paint grip the material. Clean once more with acetone to remove any dust particles generated by sanding. Protect areas you don’t want painted by carefully applying masking tape, ensuring edges are firmly pressed down to prevent paint seepage. Apply a base coat of acrylic paint in thin, even layers, allowing each coat to dry thoroughly before adding the next. You may need to apply anywhere from three to six coats to achieve the depth of colour you desire, but patience at this stage rewards you with a professional finish. For smooth colour transitions and intricate designs, an airbrush produces stunning results that would be difficult to achieve with brushes alone. Stencils prove invaluable for adding logos, text, or geometric patterns with crisp edges, whilst fine brushes or paint markers allow you to add unique artistic flourishes and details. Consider incorporating embroidery, engraving, or special metallic finishes to elevate your design even further. Once your artistic vision is complete, apply a quality sealant to protect your work from daily use, moisture, and the inevitable wear that comes with walking. This protective layer ensures your design remains vibrant and intact for years to come, provided you care for your shoes properly.
Maintaining your handmade creation requires regular attention but rewards you with extended life and continued beauty. Avoid exposing your custom shoes to extreme weather conditions such as heavy rain or snow, which can damage both the materials and any painted designs. If your footwear does become wet, gently dry it with a soft cloth, taking care to avoid direct heat sources like radiators or hairdryers that can cause materials to crack or warp. Store your shoes in a cool, dark location to prevent colours from fading due to sunlight exposure. Consider reapplying sealant every few months to maintain the protective barrier and keep your design looking fresh. Regular cleaning with a damp cloth and mild soap keeps dirt from building up, but avoid using washing machines or harsh detergents that can damage delicate work. When cleaning painted areas, use a gentle touch to avoid rubbing away your carefully applied designs. Allow your shoes to air dry in a well-ventilated space after cleaning, maintaining their shape by stuffing them with paper if necessary. Proper storage involves keeping your shoes in their original box or dedicated containers, separated by tissue or paper to prevent scuffing. Avoid stacking heavy objects on top of them, which can distort their shape and damage decorative elements. With these care practices, your handmade shoes will continue to turn heads and spark conversations for many years, serving as a testament to your creativity and craftsmanship whilst providing the perfect fit that only truly bespoke footwear can offer.


